Use Zapier with Drupal Webform

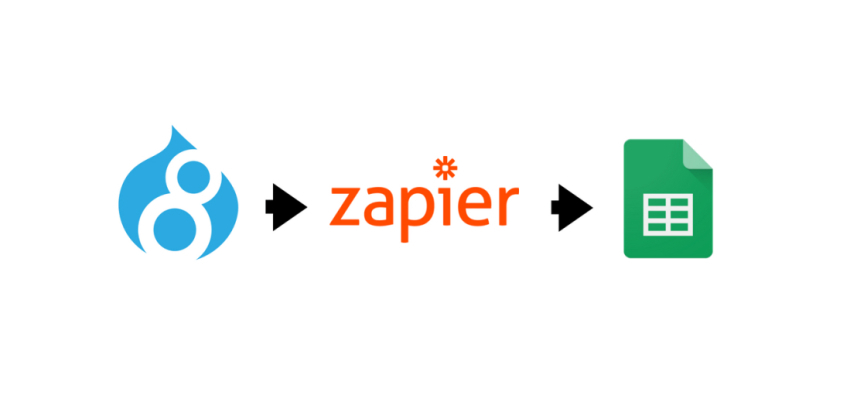
Drupal's powerful Webform module is an excellent tool for managing user interaction and collecting data on your website. In this article, you will learn step by step how to automatically redirect data from the forms you create using the Drupal Webform module to Google Sheets.
Step 1: Drupal Webform Settings
- Enable the Webform module on your Drupal site and create your form.
- Open the "Form submission" section from the form settings.
- Set the "Webform submission data" option to "JSON".
Step 2: Creating a Zapier Account and Zap
- Sign up or log in to Zapier.
- Create a new Zap by clicking "Create Zap" in the Dashboard.
Step 3: Identifying a Trigger
- Type "Webform" in the "Choose App" box and select Webform.
- Select "New Form Submission" as "Trigger Event".
- Add your Drupal Webform account information and test.
Step 4: Determine Action
- Type "Google Sheets" in the "Choose App" box and select Google Sheets.
- Select "Create Spreadsheet Row" as "Action Event".
- Sign in with your Google Sheets account and grant the necessary permissions.
- Map the form data to the correct columns.
Step 5: Test and Enable Zap
- Test Zap and see if it works correctly using a sample submission from Webform.
- If the test is successful, enable Zap and let it start working.
- By following these steps, you will successfully integrate Drupal Webform with data submission to Google Sheets using Zapier.
Conclusion
Now data from your Drupal Webform user forms will be automatically sent to Google Sheets. In this way, you can better manage user interactions and track data more regularly. This integration will make your website's data collection process more efficient and simplify your reporting processes. By combining the powers of Drupal and Zapier, you can optimize your data management processes and improve user experience.

